|
|
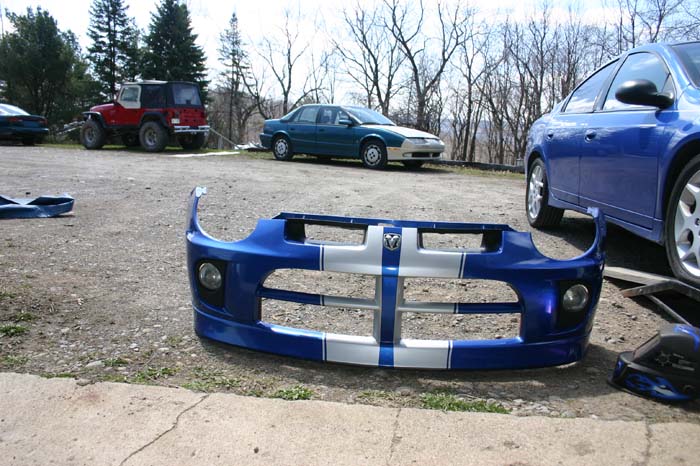
SRT-4 Crash Bar |
After 220,000 miles my trusty saturn finally decided not to start. So, here I was facing a dilemma. I could put a $250 fuel pump in it or I could buy a new car that I would be needing eventually anyhow. Well I decided in these trying economic times I was going to do my part to contribute to revitalizing the economy. So I decided to start looking at new cars. I just kinda stumbled across this beautiful blue SRT-4. When I purchased my SRT it already had a couple mods done to it. So, I decided to just go with it and have some fun. As with everything. I have a terrible time leaving well enough alone. |
 |
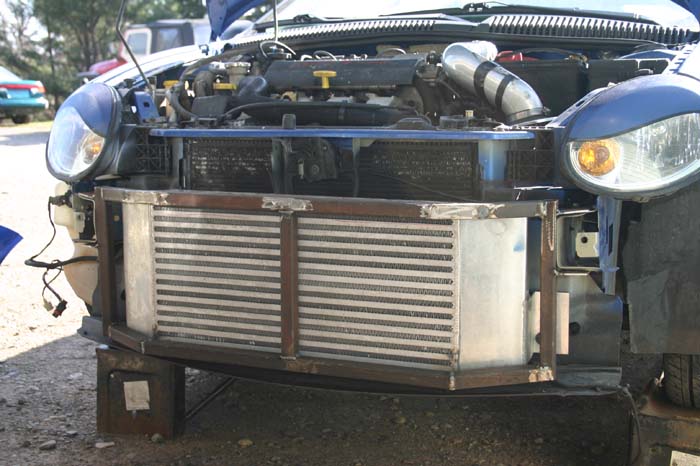
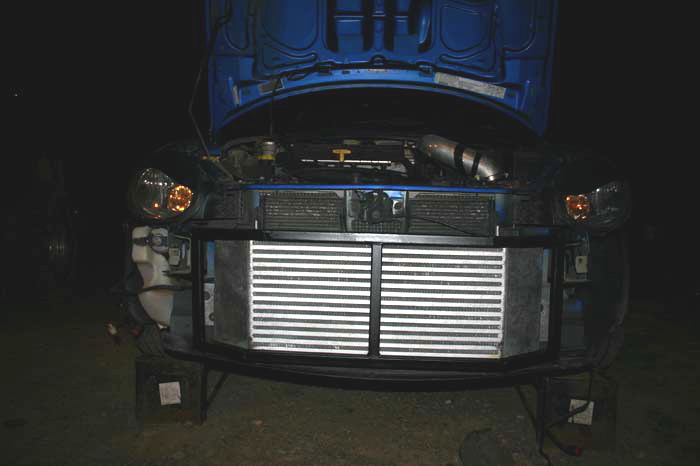
The first thing I noticed was the fact that the larger intercooler took up the entire area behind the front clip. This really wasn't a problem till I realized there was no protection for this very expensive intercooler. I live in Bristol New York. Every day on my way to work and on my way home. I have a whole slew of animals that insist on racing me. Sometimes I win, sometimes they win. Seeing as how the smaller animals generally don't win, I became concerned for the well being of my intercooler. I was doing some looking around on the intarwebnet, and found a few options. Unfortunately , I was not impressed with any of them. they all seemed to offer structural support, but no real protection for the intercooler. I decided I was just going to build my own. |
|
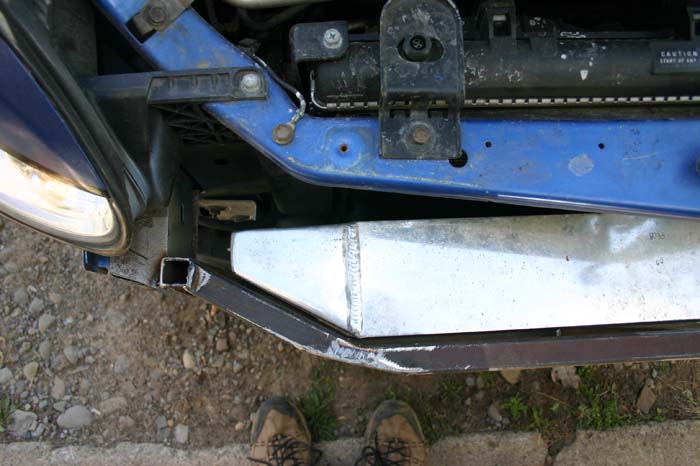
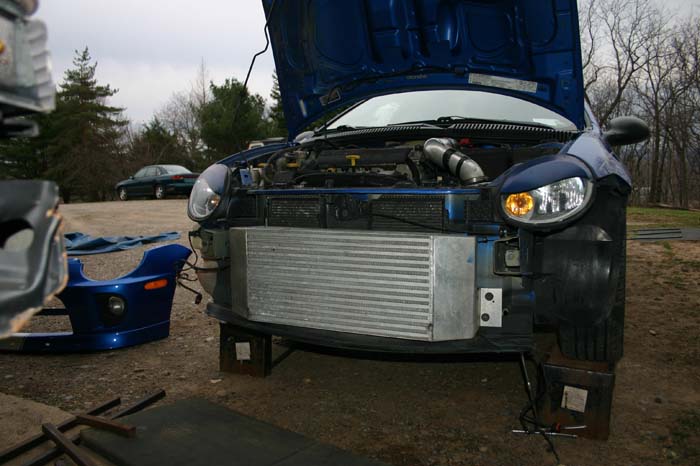
This is what the front of the car looked like without the front clip. As you can see one slow possum = Bye bye Mr. intercooler. |
Front clip removed exposing the unprotected intercooler. |

|
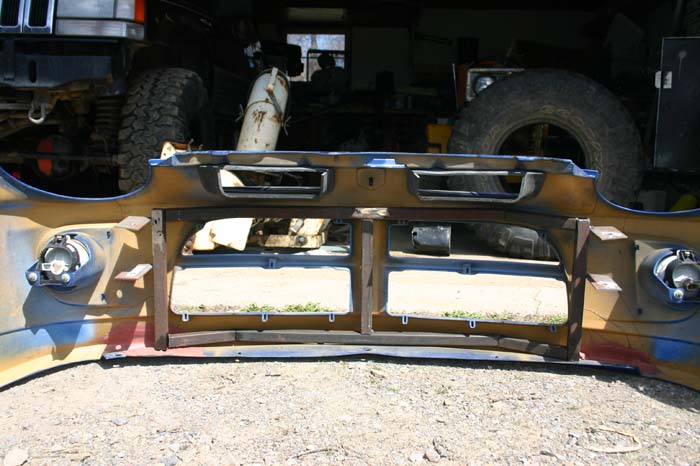
This is the view of the front clip with the crash bar installed. |
Test fitting it in the front clip to make sure it fit the way I wanted. |
I had some 1" square stock laying around. So I decided that would have to do. I used the intecooler for my jig and marked all my pieces, then cut them with the correct angles, and tacked them together. Once tacked together. I placed the crash bar into the front clip. I did not want any more restriction, and I also did not want it visible from the outside of the car. |
|
Crash bar tacked together for test fit. |
Crash bar installed. |
Top view of crash bar. |
Top view of crash bar showing the perfect 1/4" clearance. |
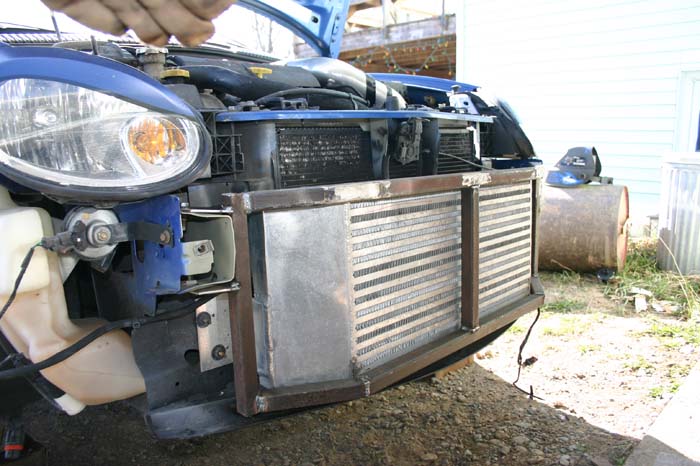
| I was happy with the test fit so I full welded everything together then painted it a nice satin black. Unfortunately it was getting dark and I had to get my car back together so the following pictures aren't that great. | |
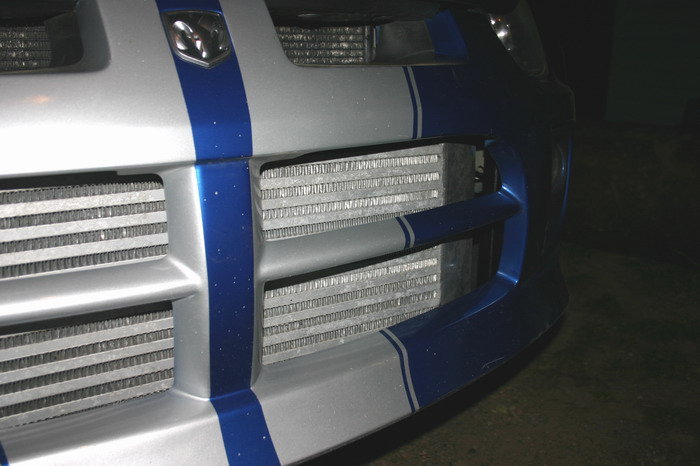
Crash bar painted and installed. |
Crash bar painted and installed. |
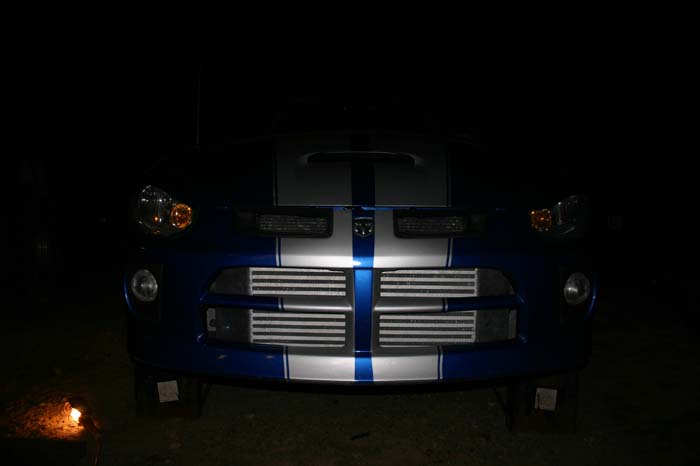
Crash bar installed under front clip. only 2 small pieces are visible. |
This is all you can see of the crash bar. |
In the design process, I wanted to make sure the crash bar was strong enough to handle hitting small animals. I chose not to make it to stout. If I do get into a front end collision, with something more than a possum, the bar will collapse and not bend the unibody of the car. Reguardless of what happens, the front clip will be history so that was not a concern to try and save. If you are interested in acquiring one of these let me know we can work on pricing and schedules. crusarius at google mail . com <replace google mail with gmail and remove spaces> |
|